July 22nd, 2026, posted in for_founders
by Adelina
You’re a web developer who’s just starting out. You’ve stumbled upon this cool PHP framework called Laravel and you think it’s the best thing since sliced bread (we do too). You want to build your first app, but just don’t know where to start or how to get all your ideas to work together.
We know it’s hard starting from scratch, so we have something you’ll like for sure. We here at UPDIVISION teamed up with Creative Tim to give people like yourself a free and easy way to kickstart your first web app or website dashboard and make it look amazing.
This guide is for you if:
- you want to become a full-stack developer
- you’re a web dev and front end is your strong suit but you need to kickstart your backend mojo
- you’re a back end web dev who wants a nice and shiny theme for your project but don’t want any of that frontend hassle
Here’s how it all started.
Creative Tim designs and makes UI kits and dashboards panels using top-notch frameworks like Bootstrap, VueJS, and React. They offer UI Kits and pre-built example pages (anything from landing pages to e-commerce or blog pages), ready-made sections and elements (headers, widgets, buttons), admin templates and dashboards.
They basically provide the pre-packaged frontend for any kind of web project you might want to build with any aesthetics you’re looking for – and it’s always a sight to behold. All of this is great if you have the back-end done for you. But that’s hardly ever the case.
So, you have the frontend, the looks and the admin panel, but you don’t have the ghost in the machine (i.e., the back end). And you don’t have any database, the stuff that the backend moves around and retrieves and serves up via the frontend.
This is where we come in. We here at UPDIVISION are doing for backend and databases what Creative Tim are doing for the frontend. All of this to help you kickstart your project faster with a beautiful and cohesive design and equally beautiful backend, without having to reinvent the wheel.
But we’re taking it one step at a time. On the Free version, which we are launching now, we made some mock-up tables, users, editable profile and a database so you can see how it all ties together and connects with the frontend.
We also wrote detailed documentation for every step of the journey. And we provide commented code that takes you through every step of the way. This is an amazing learning resource you don’t come across too often. It gives you the chance to see how it’s done and do it yourself.
But first of all, our Free package saves you tons of time. Instead of investing time in doing the integration, you have a boilerplate which does the heavy lifting for you.
We’re very happy with how the backend we made for the Free version came out – and we think you will too. But we can do even better.
The Pro version, which is in the works, will basically be a starter kit for a CMS that does what you want to do and looks the way you want it to look. It will have much more complex and extensive features – think relations between tables and databases.
You can find the free version in three places:
Github: https://github.com/laravel-frontend-presets/argon
Creative Tim website: https://www.creative-tim.com/product/argon-dashboard-laravel
Packagist: https://packagist.org/packages/laravel-frontend-presets/argon
Read on below for the full installation guide.
The Free version is free to download, use, and modify as you see fitting even for commercial purposes under MIT License.
The Free version will provide you with:
-
customized Boootstrap 4 theme with plenty of components
-
a couple of demo layouts
-
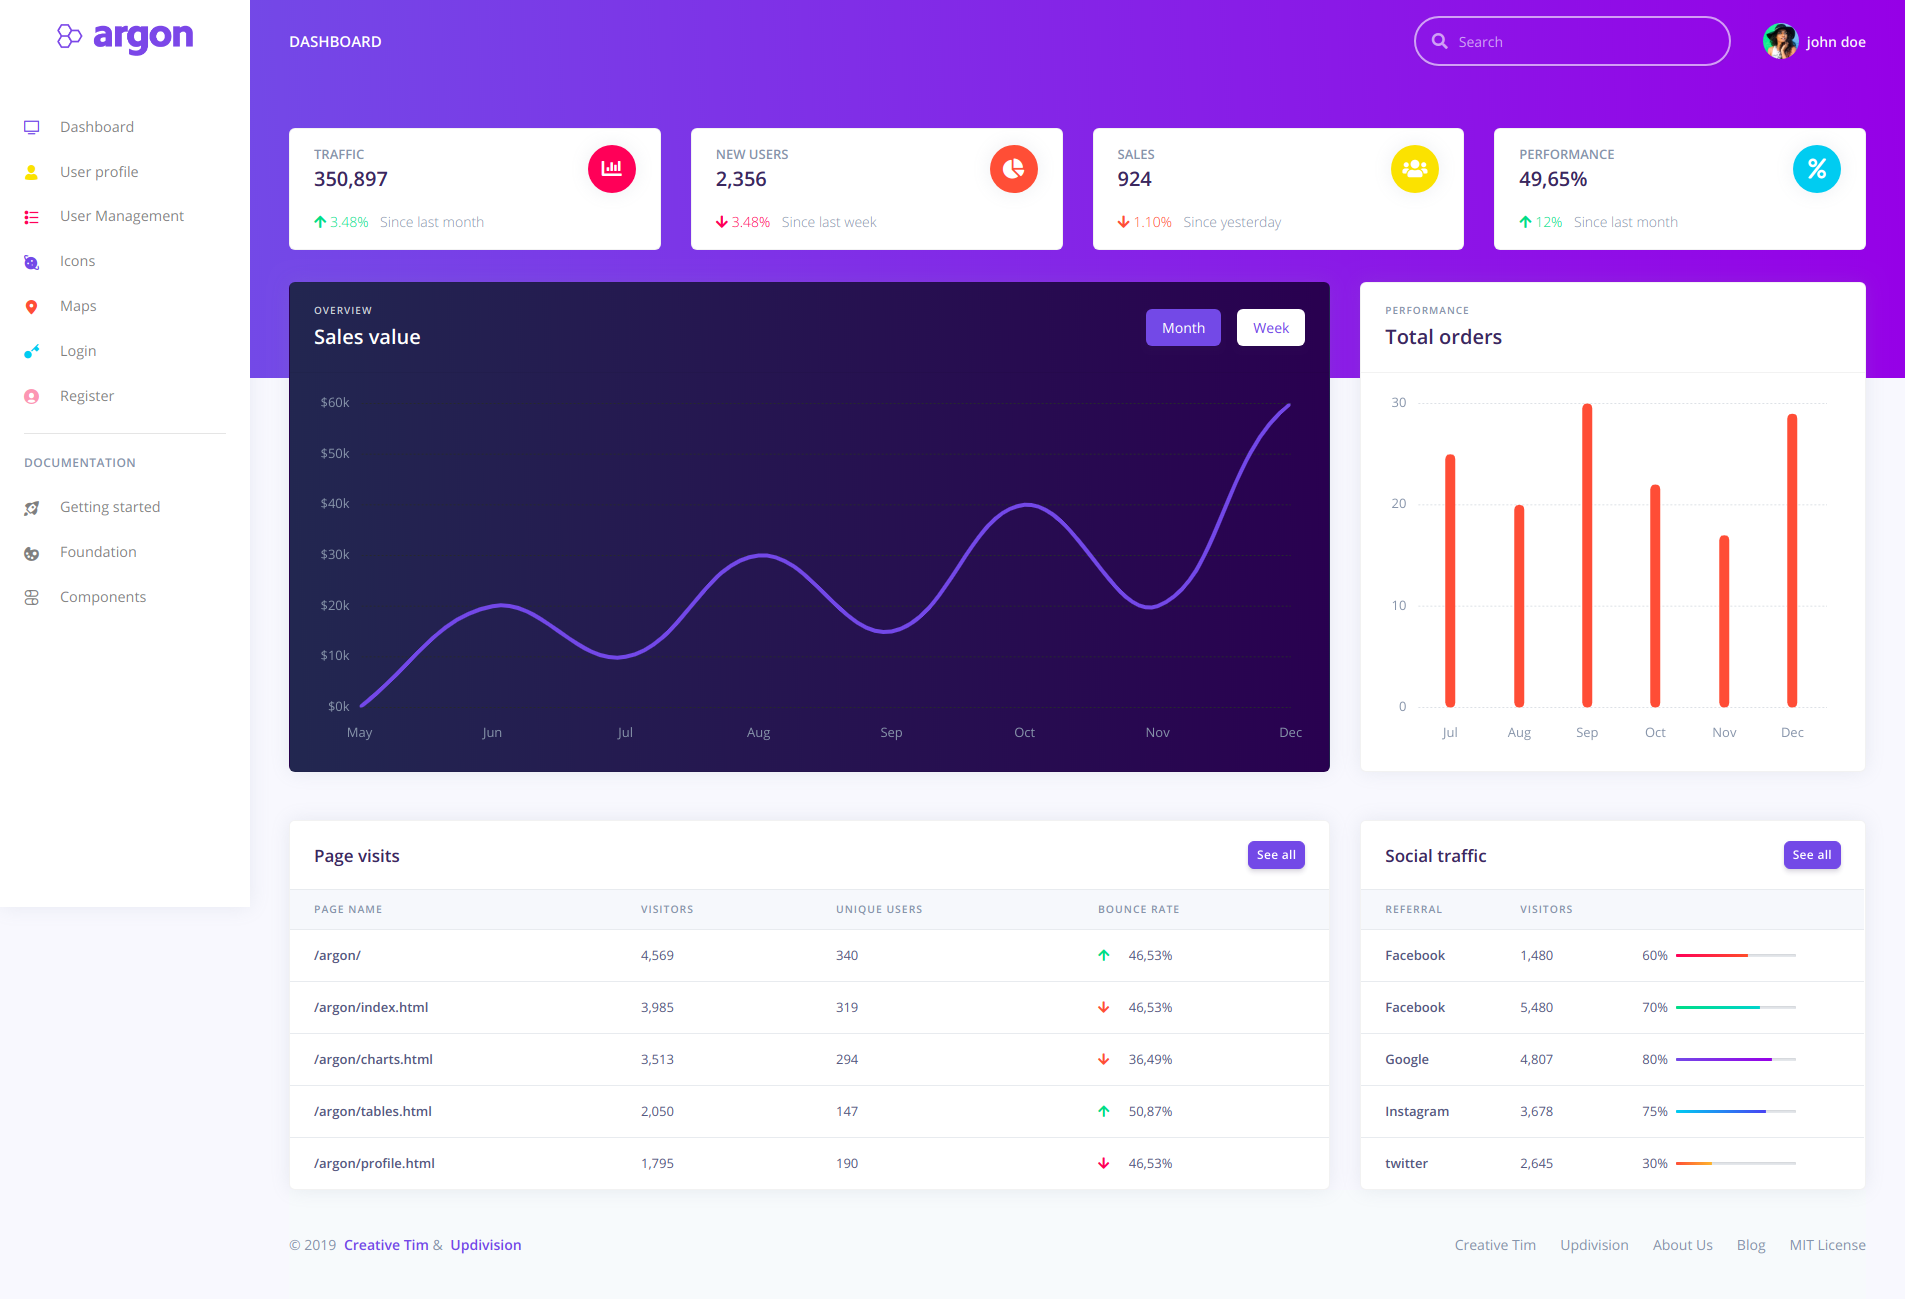
admin dashboard
-
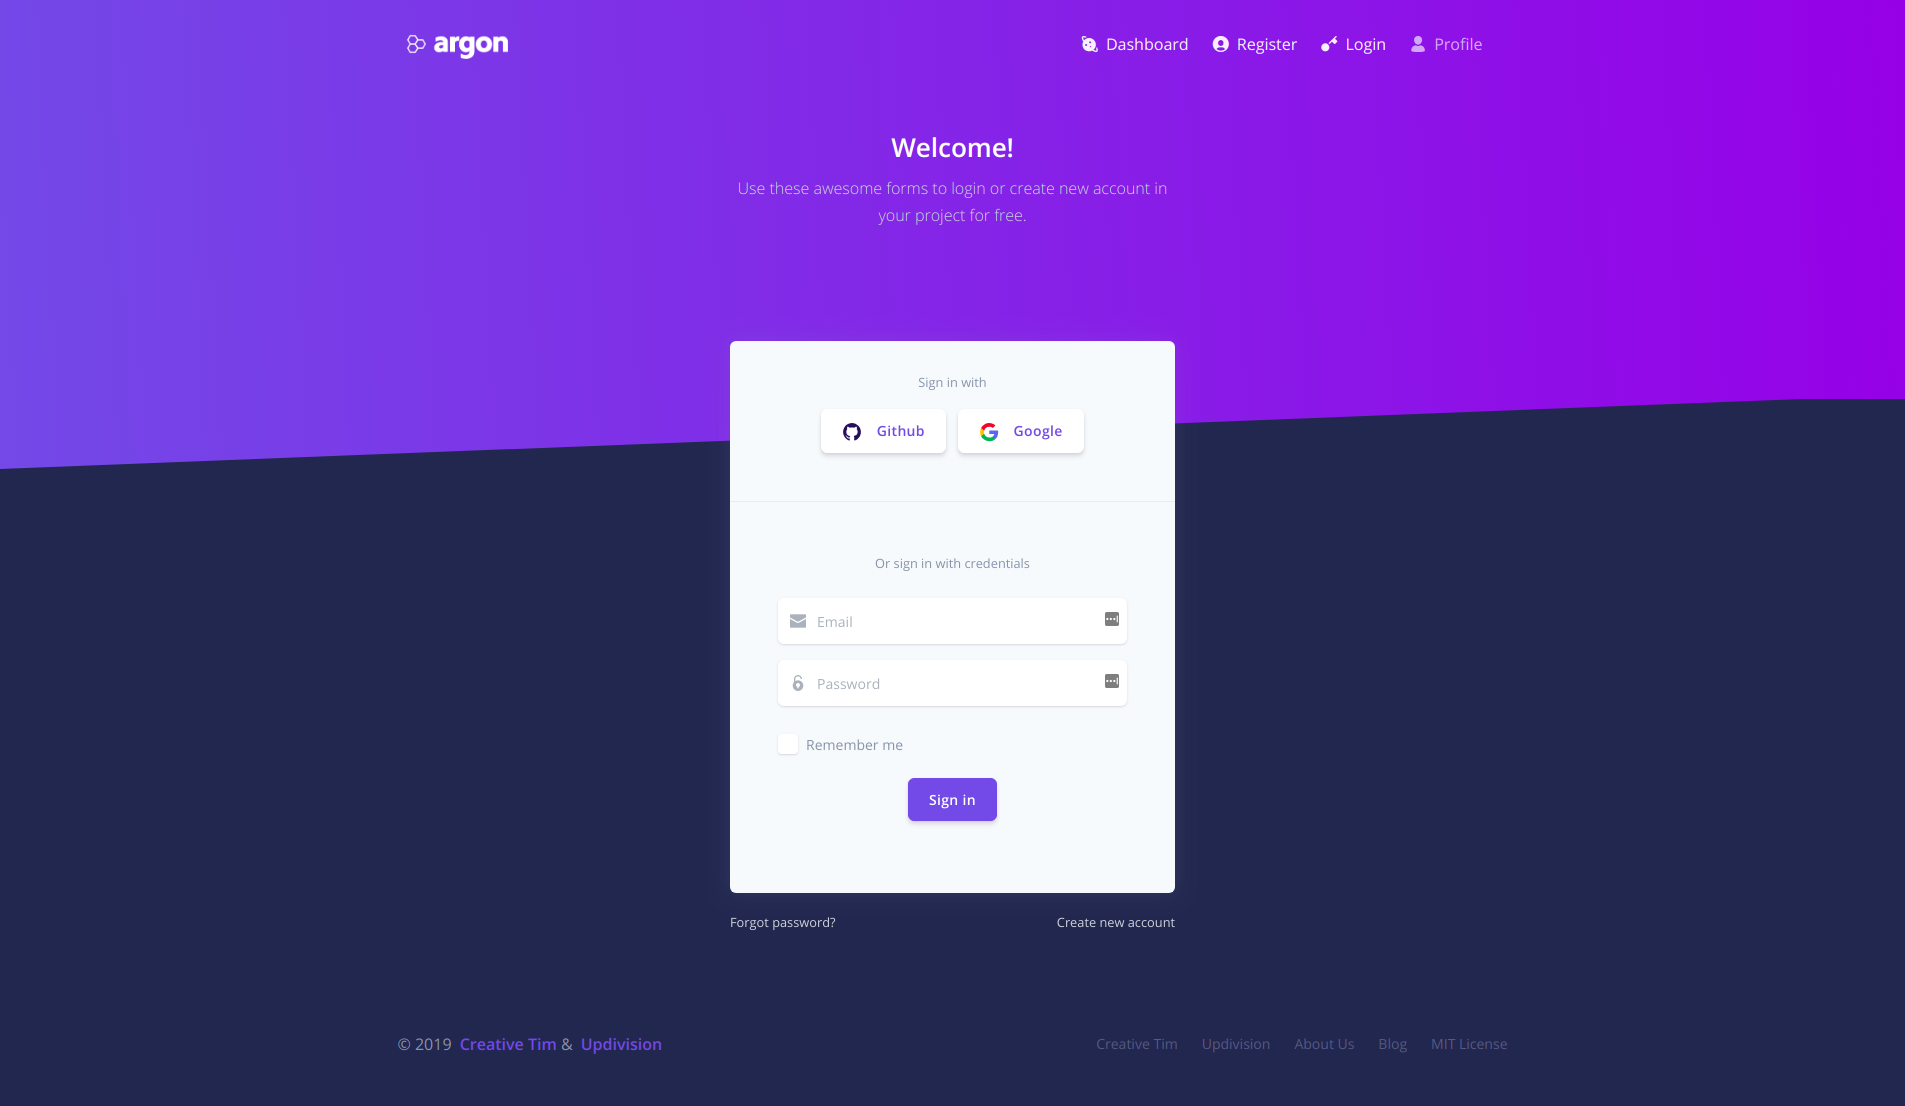
a stylish working login and register page
-
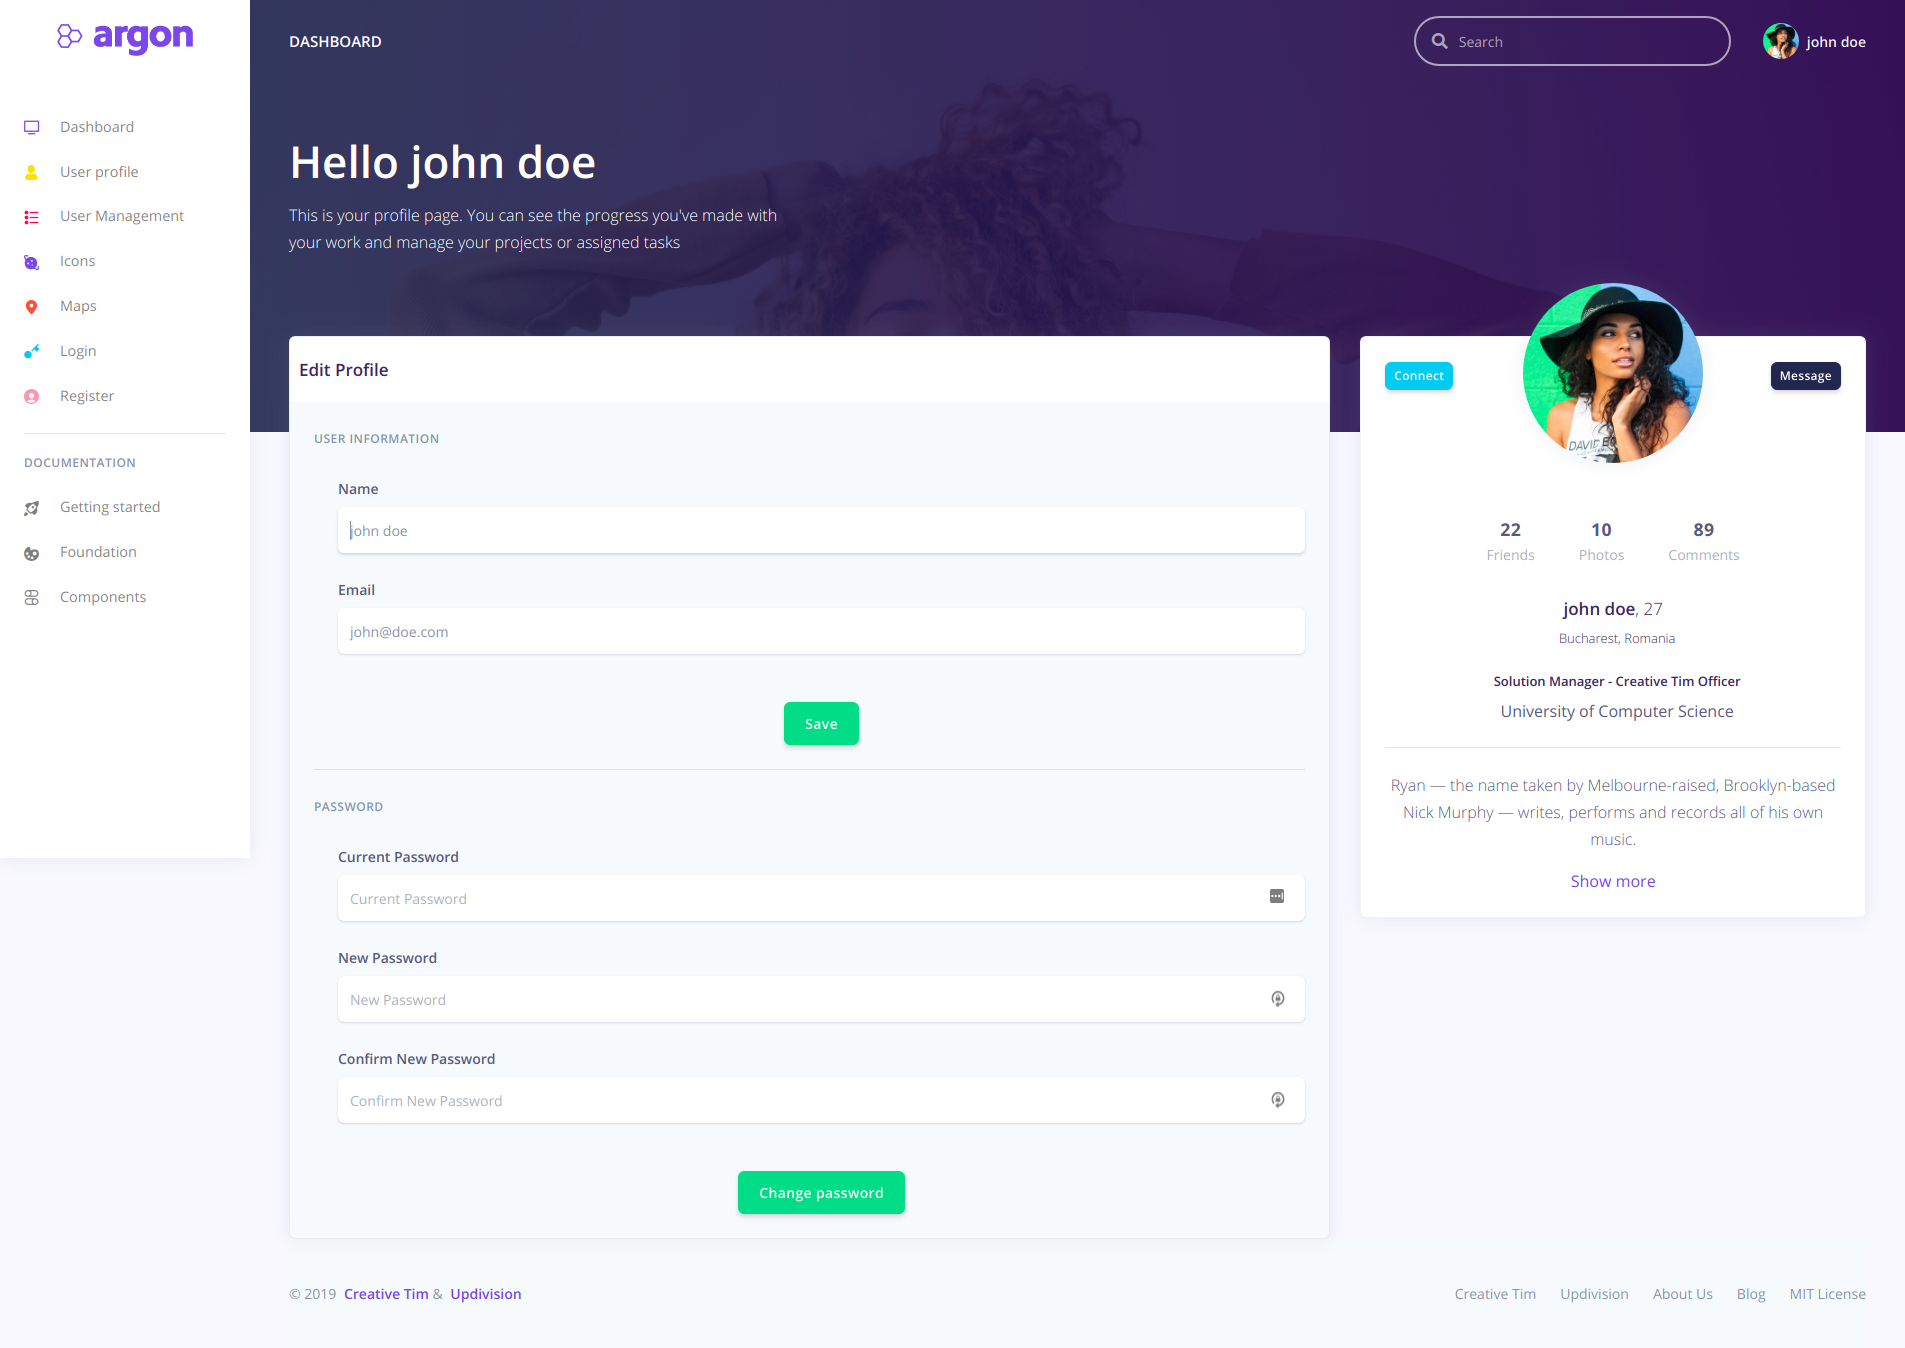
user profile editing
-
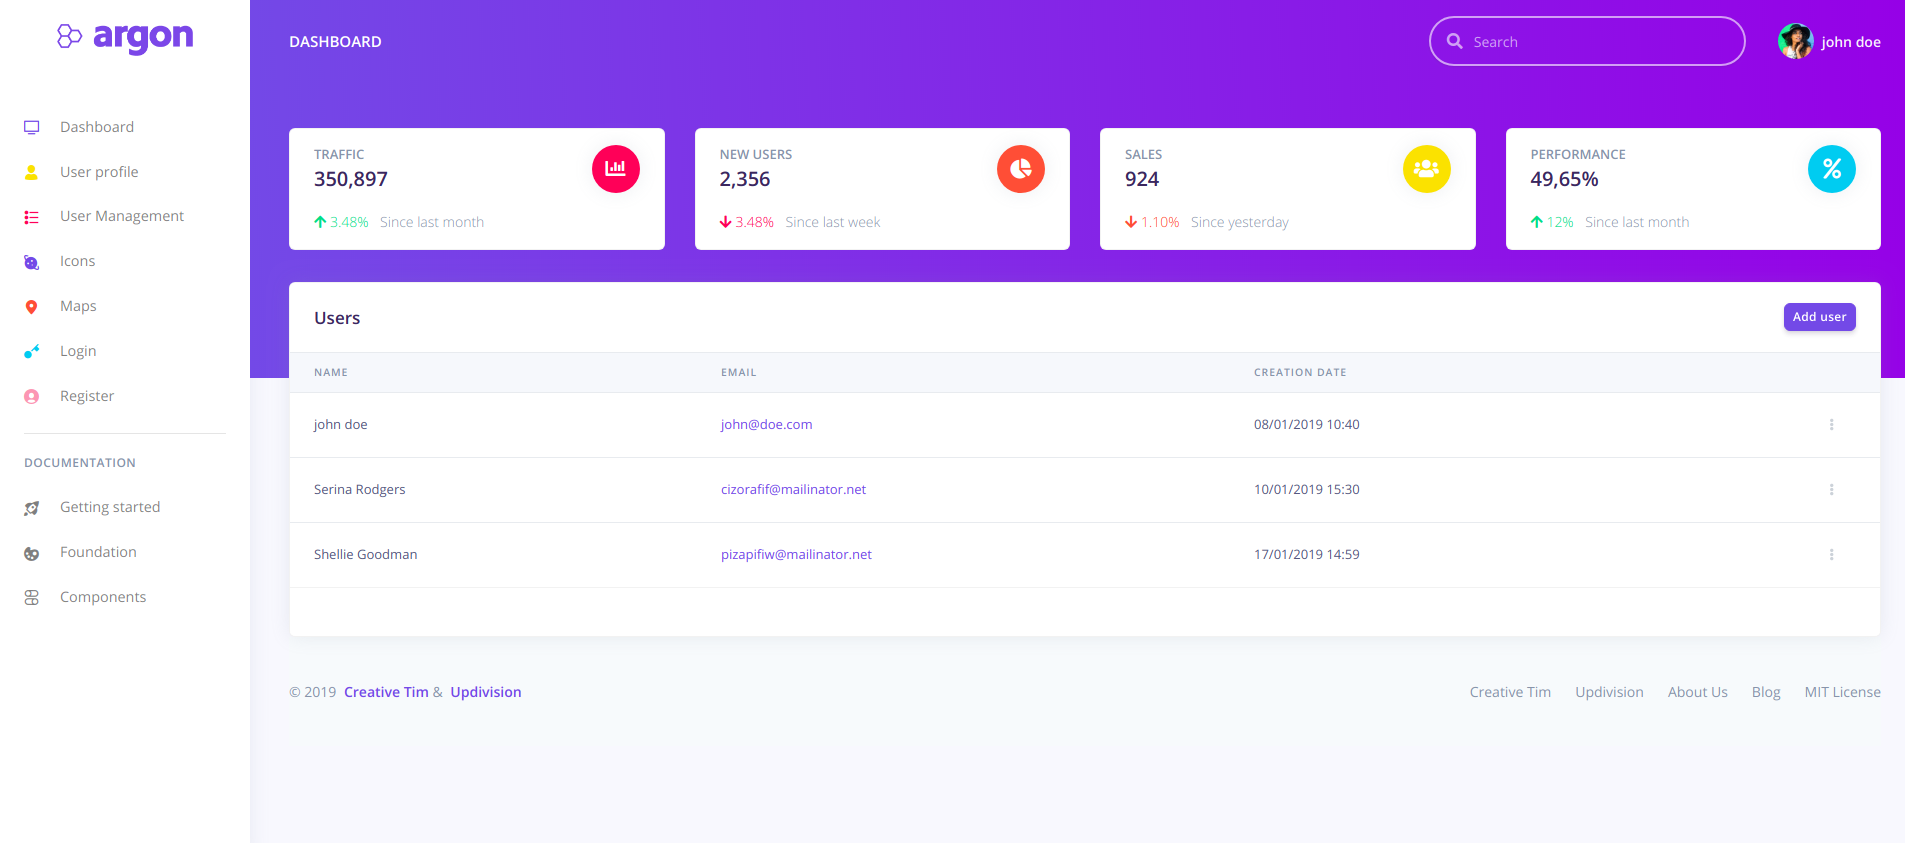
fully functional user management -- Create, Read, Update, and Delete (CRUD)
Here are the steps you have to follow to install and use it:
Argon Frontend Preset For Laravel Framework 5.5 and Up
Current version: Argon v1.0.0. More info at https://github.com/creativetimofficial/argon-dashboard.
Note: We recommend installing this preset on a project that you are starting from scratch, otherwise your project's design might break.
Installation
After initializing a fresh instance of Laravel (and making all the necessary configurations), install the preset using one of the provided methods:
Via composer
1. cd to your Laravel app
2. Install this preset via composer require laravel-frontend-presets/argon. No need to register the service provider. Laravel 5.5 & up can autodetect the package.
3. Run php artisan preset argon command to install the Argon preset. This will install all the necessary assets and also the custom auth views, it will also add the auth route in routes/web.php (NOTE: If you run this command several times, be sure to clean up the duplicate auth entries in routes/web.php)
4. In your terminal run composer dump-autoload
5. Run php artisan migrate --seed to create basic users table
By using the archive
1. In your application's root create a presets folder.
2. Download an archive of the repo and unzip it.
3. Copy and paste argon-master folder in presets (created in step 2) and rename it to argon
4. Open the composer.json file.
5. Add "LaravelFrontendPresets\\ArgonPreset\\": "presets/argon/src" to autoload/psr-4 and to autoload-dev/psr-4
6. Add LaravelFrontendPresets\ArgonPreset\ArgonPresetServiceProvider::class to config/app.php file
7. In your terminal run composer dump-autoload
8. Run php artisan preset argon command to install the Argon preset. This will install all the necessary assets and also the custom auth views, it will also add the auth route in routes/web.php (NOTE: If you run this command several times, be sure to clean up the duplicate auth entries in routes/web.php)
9. Run php artisan migrate -- seed to create basic users table
Usage
Register a user or login using [email protected] and secret and start testing the preset (make sure to run the migrations and seeders for these credentials to be available).
Besides the dashboard and the auth pages this preset also has a user management example and an edit profile page. All the necessary files (controllers, requests, views) are installed out of the box and all the needed routes are added to routes/web.php. Keep in mind that all of the features can be viewed once you login using the credentials provided above or by registering your own user.
Dashboard
You can access the dashboard either by using the "Dashboard" link in the left sidebar or by adding /home in the url.
Profile edit
You have the option to edit the current logged in user's profile (change name, email and password). To access this page just click the "User profile" link in the left sidebar or by adding /profile in the url.
The App\Http\Controlers\ProfileController handles the update of the user information:
public function update(ProfileRequest $request)
{
auth()->user()->update($request->all());

return back()->withStatus(__('Profile successfully updated.'));
}
Also, you shouldn't worry about entering the wrong data in the inputs when editing the profile, validation rules were added to prevent this (see App\Http\Requests\ProfileRequest). If you try to change the password you will see that other validation rules were added in App\Http\Requests\PasswordRequest. Notice that in this file you have a custom validation rule that can be found in App\Rules\CurrentPasswordCheckRule:
public function rules()
{
return [
'old_password' => ['required', 'min:6', new CurrentPasswordCheckRule],
'password' => ['required', 'min:6', 'confirmed', 'different:old_password'],
'password_confirmation' => ['required', 'min:6'],
];
}
User management
The preset comes with a user management option out of the box. To access this click the User Management link in the left sidebar or add /user to the url.
The first thing you will see is the listing of existing users. You can add new ones by clicking the Add user button (above the table on the right). On the Add user page you will see the form that allows you to do this. All pages are generated using blade templates:
{{ __('Name') }} @if ($errors->has('name')) {{ $errors->first('name') }} @endif
Validation rules were added so you will know exactly what to enter in the form fields (see App\Http\Requests\UserRequest). Note that these validation rules also apply for the User edit option:
public function rules()
{
return [
'name' => [
'required', 'min:3'
],
'email' => [
'required', 'email', Rule::unique((new User)->getTable())->ignore($this->route()->user->id ?? null)
],
'password' => [
$this->route()->user ? 'nullable' : 'required', 'confirmed', 'min:6'
]
];
}
Once you add more users, the list will get bigger and for every user you will have edit and delete options (access these options by clicking the three-dotted menu that appears at the end of every line).
All the sample code for the user management can be found in App\Http\Controllers\UserController. See a store method example below:
public function store(UserRequest $request, User $model)
{
$model->create($request->merge(['password' => bcrypt($request->get('password'))])->all());

return redirect()->route('user.index')->withStatus(__('User successfully created.'));
}
Let us know what you think. Your feedback is very valuable as it helps us make this product better. So leave a comment below with what features you’d like to see in the Pro Version.
Later Edit: The Pro Version is here with a ton of exciting features! Check it out at the following link.