July 22nd, 2026, posted in for_founders
by Adelina
A while back we partnered with Creative Tim to create a free package for web developers starting out with Laravel. While we`re happy with how it turned out (and we hope you are too), we want to take it one step further.
We are now launching a Pro version for all your web development needs. The package comes with additional features designed to take the pain out of prototyping, setting up and launching a web app. Whether you are just getting your first project up and running or you are a seasoned developer looking to save time, this out of the box solution integrates the best of both worlds: beautiful frontend design with a cohesive Laravel backend.
In the free version, we provided some mock-up tables, users, editable profiles and a database so you can see how it all ties together and connects with the frontend. The Pro version comes with additional, ready to use CRUDs which target the most commonly used functionalities in a web app:
- user management,
- role management,
- category management,
- tag management and
- item management
In short, all the boxes you need to tick to create a fully-functional admin panel for your custom application.
We also included detailed documentation for every component and commented code so you can follow along. This is a unique learning resource which allows you to see how it`s done and then do it yourself. Think of it as a crash course in Laravel.
But first and foremost, the Pro package saves you tons of time. The theme does the heavy lifting for you through a range of fully-coded, reusable components, without tying you into some inflexible setup. This allows you to go from a prototype to a fully-functional web app in no time, without having to worry about frontend – backend integration.
Speed app your development. The proof is in the numbers:
- CRUD for managing users: any kind of app you`re going to build needs this – 20 hours
- CRUD for managing roles: ensure only legitimate users have access to resources – 15 hours
- CRUD for managing categories, tags and items: the heart of any CMS you`ll develop – 40 hours
- User profile editing with the option of changing the profile picture – 15 hours
Savings Sum ($$): 90 hours
Don’t take our word for granted. See yourself how you can save up to 90 hours of work, download the Pro version here.
Here are the steps needed to install and start using the Pro version:
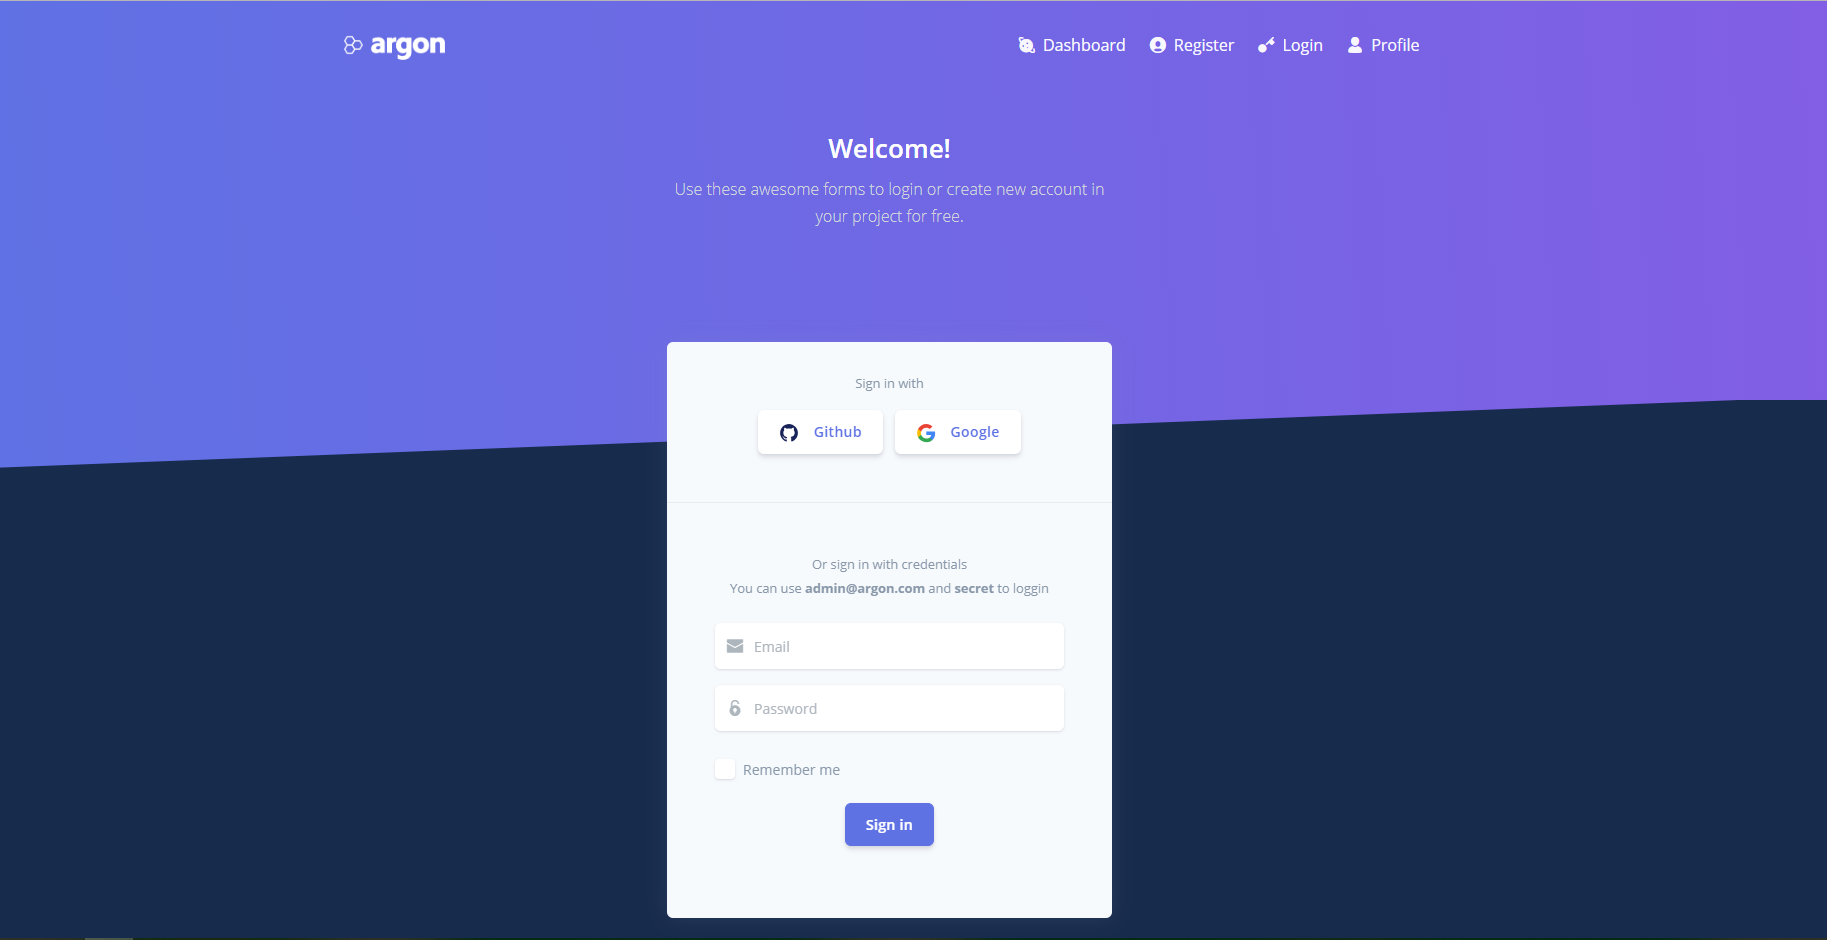
The fastest way to get a sense of the look and feel is through the live preview.
If you want to use it in a real app, read the installation steps below.
Argon Pro Theme for Laravel Framework 5.5 and Up
Current version: Argon Pro v1.0.0. More info at https://demos.creative-tim.com/argon-dashboard-pro
Installation
1. Unzip the downloaded archive
2. Copy and paste the unzipped folder in your projects folder. Rename the folder to your project's name
3. In your terminal run composer install
4. Copy .env.example to .env and updated the configurations (mainly the database configuration)
5. In your terminal run php artisan key:generate
6. Run php artisan migrate --seed to create the database tables and seed the roles and users tables
7. Run php artisan storage:link to create the storage symlink (if you are using Vagrant with Homestead for development remember to ssh in your virtual machine and run the command from there).
Usage
In order to start testing the Pro theme, register as a user or log in using the username [email protected] and the password secret. Make sure to run the migrations and seeders for these credentials to be available.
In addition to the free version`s out of the box user management and profile editing options, the Pro theme also has a role management example with updated user management, tag management, category management and item management examples. All the necessary files (controllers, requests, views) are pre-installed and all the needed routes are added to routes/web.php.
All these features can be viewed once you register as a user or log in using the credentials provided above.
You can access the dashboard either by using the "Dashboards/Dashboard" link in the left sidebar or by adding /home in the URL.
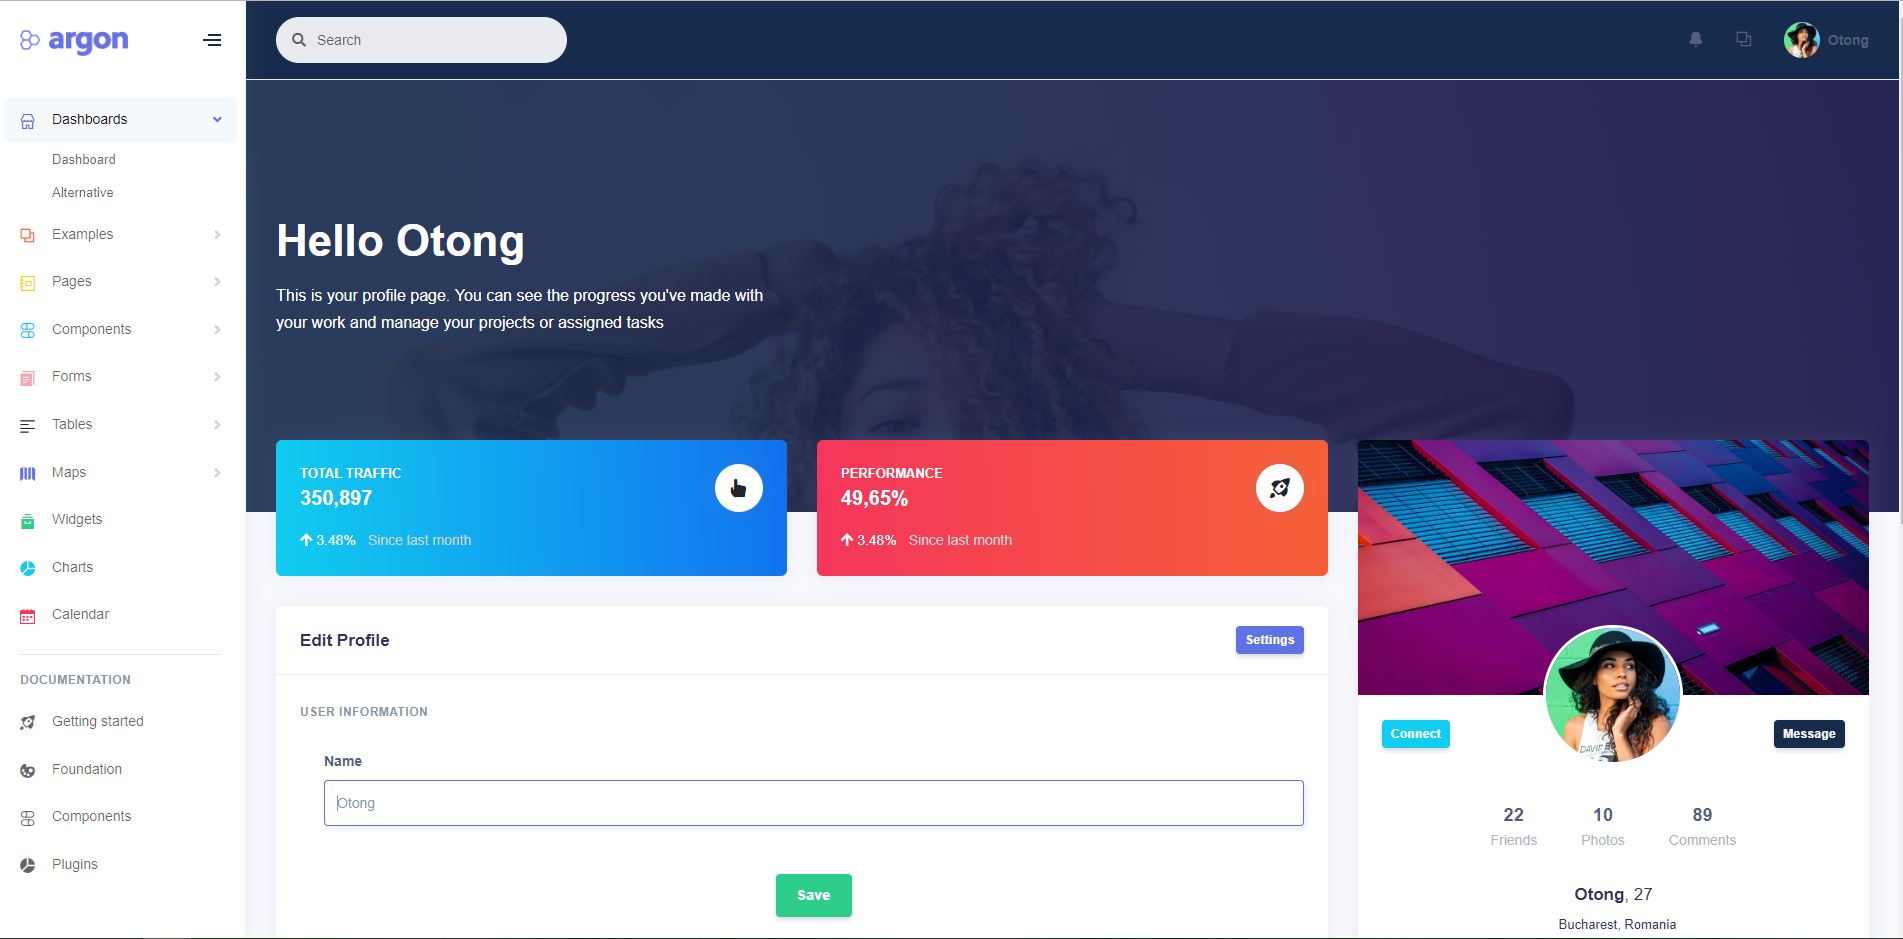
Profile Editing
Besides the option of editing the current logged in user`s profile (name, email, password), you can now also change the profile picture. To access the profile page just click the "Examples/Profile" link in the left sidebar or add /profile in the URL.
The App\Htttp\Controlers\ProfileController handles the update of the user information:
public function update(ProfileRequest $request)
            {
                auth()->user()->update($request->all());

                return back()->withStatus(__('Profile successfully updated.'));
            }
If you enter the wrong data in the input when editing the profile, don`t worry. Validation rules have been added to prevent this (see App\Http\Requests\ProfileRequest).
If you try to change the password you will see that other validation rules were added in App\Http\Requests\PasswordRequest. Notice that in this file you have a custom validation rule that can be found in App\Rules\CurrentPasswordCheckRule.
public function rules()
            {
                return [
                    'old_password' => ['required', 'min:6', new CurrentPasswordCheckRule],
                    'password' => ['required', 'min:6', 'confirmed', 'different:old_password'],
                    'password_confirmation' => ['required', 'min:6'],
                ];
            }
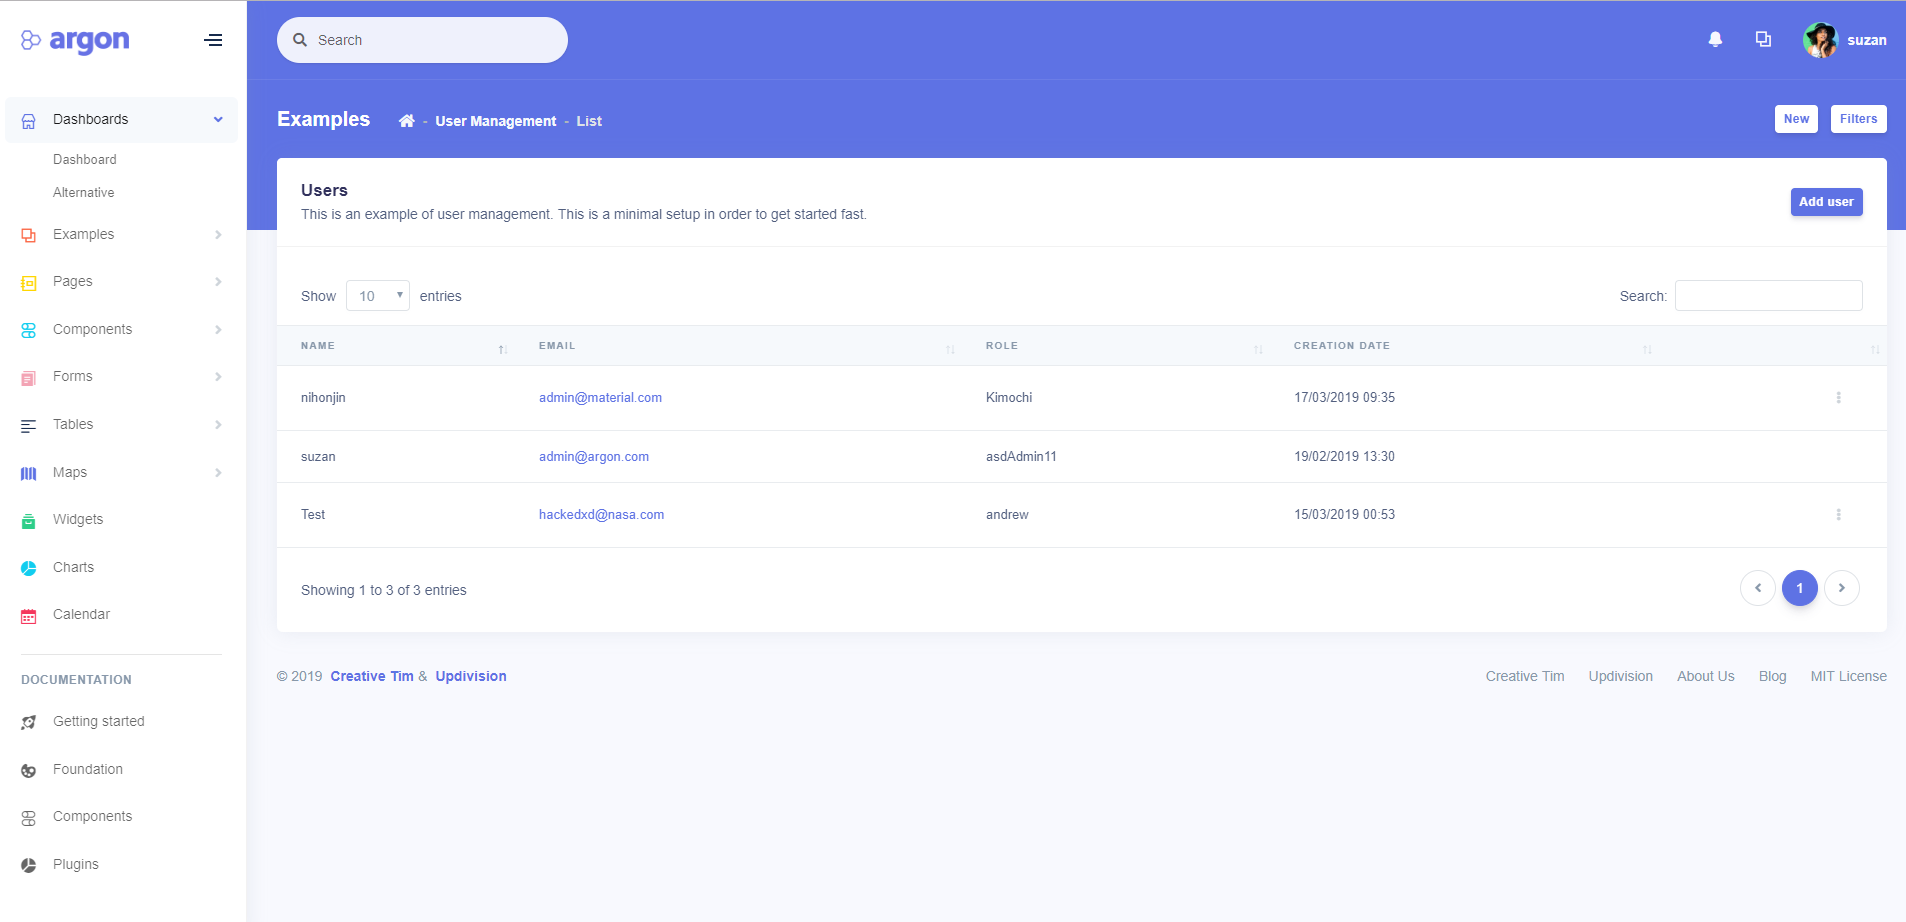
User Management
The theme comes with a user management option out of the box. To access this example click the "Examples/User Management" link in the left sidebar or add /user to the URL. The first thing you will see is a list of existing users.
You can add new users by clicking the "Add user" button (above the table on the right). On the Add user page you will see the form that allows you to do this. All pages are generated using blade templates.
Similar to the user edit option, validation rules were added so you know exactly the input you should enter in the form fields (see App\Http\Requests\UserRequest).
public function rules()
            {
                return [
                    'name' => [
                        'required', 'min:3'
                    ],
                    'email' => [
                        'required', 'email', Rule::unique((new User)->getTable())->ignore($this->route()->user->id ?? null)
                    ],
                    'role_id' => [
                        'required', 'exists:'.(new Role)->getTable().',id'
                    ],
                    'password' => [
                        $this->route()->user ? 'nullable' : 'required', 'confirmed', 'min:6'
                    ]
                ];
            }
Once you add more users, the list will get bigger and for every user you will have edit and delete options (access these options by clicking the three dotted menu that appears at the end of every line).
All the sample code for the user management can be found in App\Http\Controllers\UserController. See store method example bellow:
public function store(UserRequest $request, User $model)
            {
              $model->create($request->merge(['password' => Hash::make($request->get('password'))])->all());

              return redirect()->route('user.index')->withStatus(__('User successfully created.'));
            }
Role Management
Compared to the free version, the Pro theme allows you to add user roles. By default, the theme includes an Admin and Employee role.
To access the role management example click the "Examples/Role Management" link in the left sidebar or add /role to the URL. Here you can add/edit new roles. Deletion is not allowed in this section.
To add a new role click the "Add role" button and to edit an existing role click the dotted menu (available on every table line) and then click "Edit". In both cases you will be taken to a page that contains a form which allows you to modify the name and description of a role.

Tag Management
To access the tag management example, click the "Examples/Tag Management" link in the left sidebar or add /tag to the URL. You can add and edit tags here, but you can only delete them if they are not attached to any items.

You can add new tags by clicking the "Add tag" button (above the table on the right) which will direct you to a form. Although you can only add a tag name in the form, you can write your own migrations and extend this functionality.
 public function destroy(Tag  $tag)
              {
                  if (!$tag->items->isEmpty()) {
                      return redirect()->route('tag.index')->withErrors(__('This tag can\'t be deleted.'));
                  }

                  $tag->delete();

                  return redirect()->route('tag.index')->withStatus(__('Tag successfully deleted.'));
              }
Category Management
Out of the box you will have an example of category management (for the cases in which you are developing a blog or a shop). To access this example click the "Examples/Category Management" link in the left sidebar or add /category to the URL.
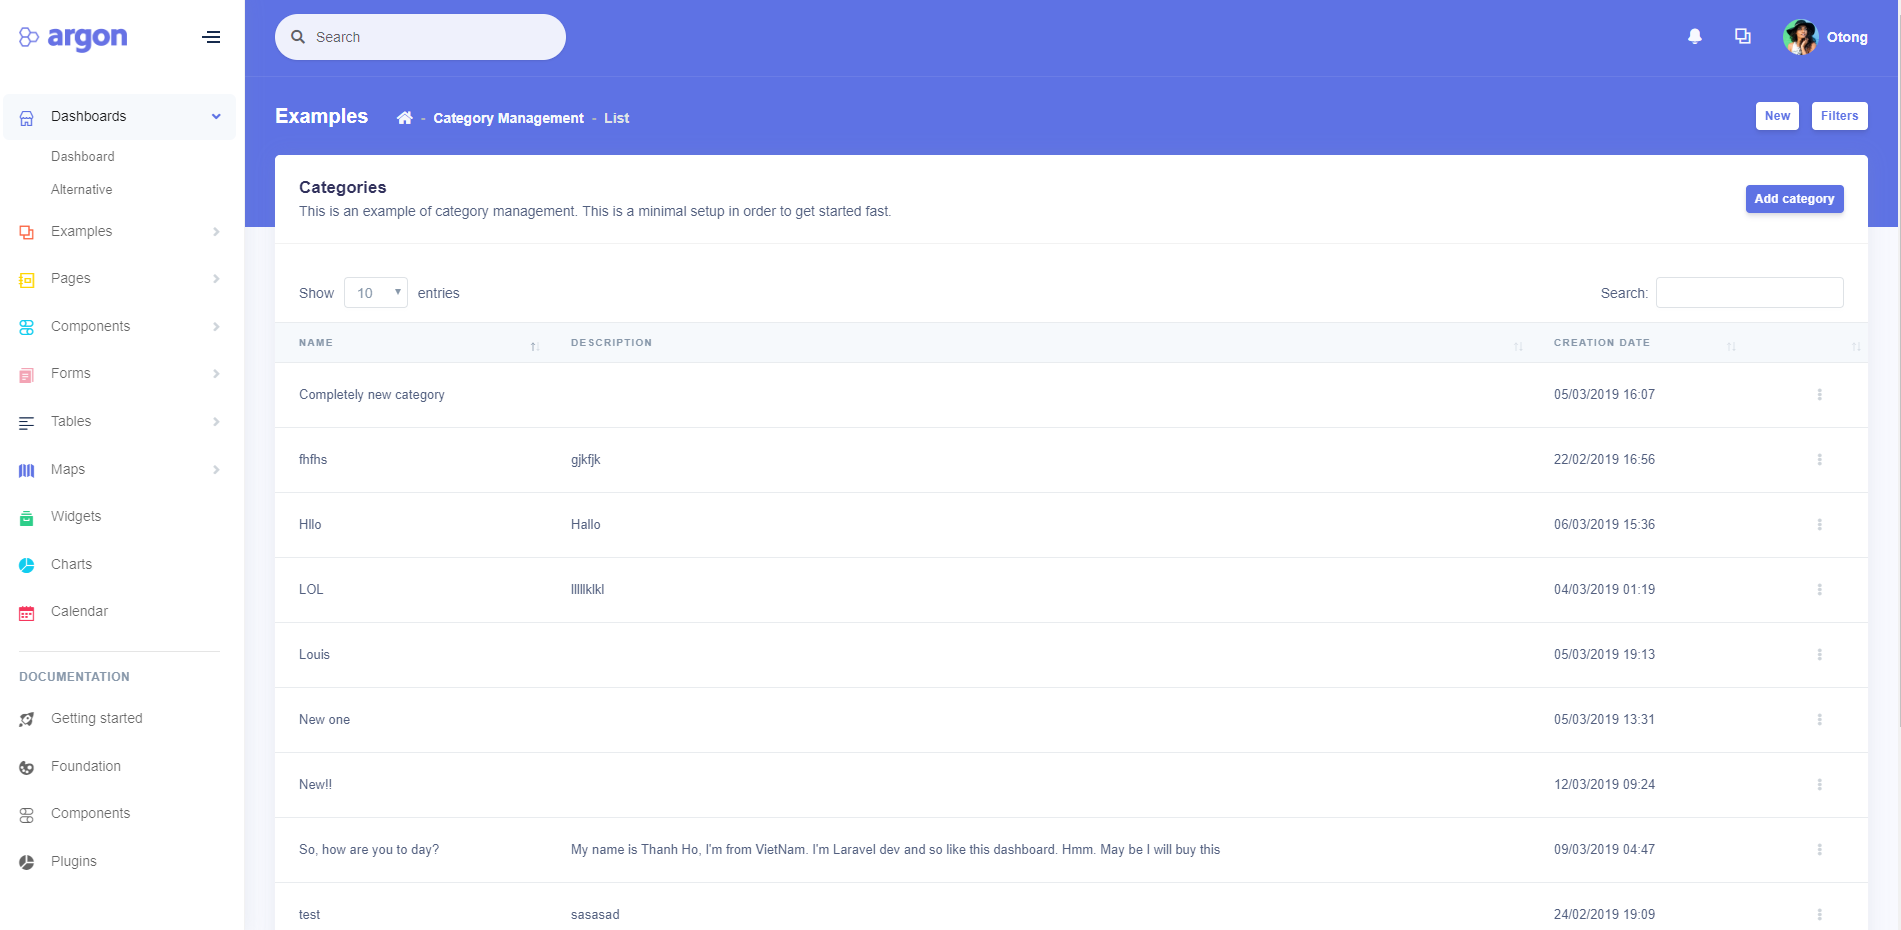
You can add and edit categories here, but you can only delete them if they are not attached to any items.
@if ($category->items->isEmpty())
              <form action="{{ route('category.destroy', $category) }}" method="post">
                @csrf
                @method('delete')

                <button type="button" class="dropdown-item" onclick="confirm('{{ __("Are you sure you want to delete this category?") }}') ? this.parentElement.submit() : ''">
                  {{ __('Delete') }}
                </button>
              </form>
            @endif
Item Management
Item management is the most advanced example included in the Pro theme, because every item has a picture, belongs to a category and has multiple tags. To access this example click the "Examples/Item Management" link in the left sidebar or add /item to the URL. Here you can manage the items.

A list of items will appear once you start adding them (to access the add page click "Add item"). On the add page, besides the name and description fields (which are present in most CRUD examples included in the theme) you can see a category dropdown, which contains the categories that you added (if you did not add any categories, please go to the category management and add some), a file input and a tag multi select (if you did not add any tags, please go to the tag management and add some).
<div class="form-group{{ $errors->has('tags') ? ' has-danger' : '' }}">
                <label class="form-control-label" for="input-role">{{ __('Tags') }}</label>
                <select name="tags[]" id="input-role" class="form-control select2{{ $errors->has('tags') ? ' is-invalid' : '' }}" placeholder="{{ __('Tags') }}" data-toggle="select" multiple required>
                  @foreach ($tags as $tag)
                    <option value="{{ $tag->id }}" {{ in_array($tag->id, old('tags') ?? []) ? 'selected' : '' }}>{{ $tag->name }}</option>
                  @endforeach
                </select>

                @include('alerts.feedback', ['field' => 'tags'])
              </div>
The code for saving a new item is slightly different than before (see snippet bellow):
public function store(ItemRequest $request, Item $model)
              {
                  $item = $model->create($request->merge(['picture' => $request->photo->store('pictures', 'public')])->all());

                  $item->tags()->sync($request->get('tags'));

                  return redirect()->route('item.index')->withStatus(__('Item successfully created.'));
              }
Notice how the picture and tags are easily saved in the database and on the disk.
As all the presented examples, this one also has validation rules in place. Note that the picture is mandatory only on the item creation. On the edit page, if no new picture is added the old picture will not be modified.
public function rules()
              {
                  return [
                      'category_id' => [
                          'required', 'exists:'.(new Category)->getTable().',id'
                      ],
                      'name' => [
                          'required', 'min:3', Rule::unique((new Item)->getTable())->ignore($this->route()->item->id ?? null)
                      ],
                      'description' => [
                          'nullable', 'min:5'
                      ],
                      'photo' => [
                          $this->route()->item ? 'nullable' : 'required', 'image'
                      ],
                      'tags' => [
                          'required'
                      ],
                      'tags.*' => [
                          'exists:'.(new Tag)->getTable().',id'
                      ]
                  ];
              }
In the item management we have an observer (app\Observers\ItemObserver) example. This observer handles the deletion of the picture from the disk when the item is deleted or when the picture is changed via the edit form and also it removes the association between the item and the tags.
public function deleting(Item $item)
              {
                File::delete(storage_path("/app/public/{$item->picture}"));

                $item->tags()->detach();
              }
We are always striving to create rich featured, versatile products and your feedback is an important part of this. So tell us what you want added or what’s the next thing you suggest we build next.
Also, if you need a hand with your Laravel project, don`t hesitate to drop us an email or leave a comment below. We build complex apps for a living.