July 22nd, 2026, posted in for_founders
by Adelina
We did it again. We fired up a new collab to give developers like yourself another easy way to jumpstart their next web development project. And make it look amazing in the process.
We created a free starter kit to rule them all: beautiful frontend designed by Creative Tim with a cohesive Laravel backend by UPDIVISION. In short, the building blocks for a web app which looks like you want it to look and does what you want it to do. With zero time wasted.
Instead of hand coding every component and investing time in doing the integration, you have a boilerplate which does the dirty work for you. The out of the box CRUD for manging users is a must for any app you are going to build, while the Google inspired Material Design components can be easily combined and customized for a sight to behold.
You can find the free starter kit in three places:
GitHub: https://github.com/laravel-frontend-presets/material-dashboard
Creative Tim website: https://www.creative-tim.com/product/material-dashboard-laravel
Packagist: https://packagist.org/packages/laravel-frontend-presets/material-dashboard
The package is free to download, use, and modify as you see fitting, including for commercial purposes, under MIT License.
The Free version will provide you with:
- customized Boootstrap 4 theme with handcrafted components
- a couple of demo layouts
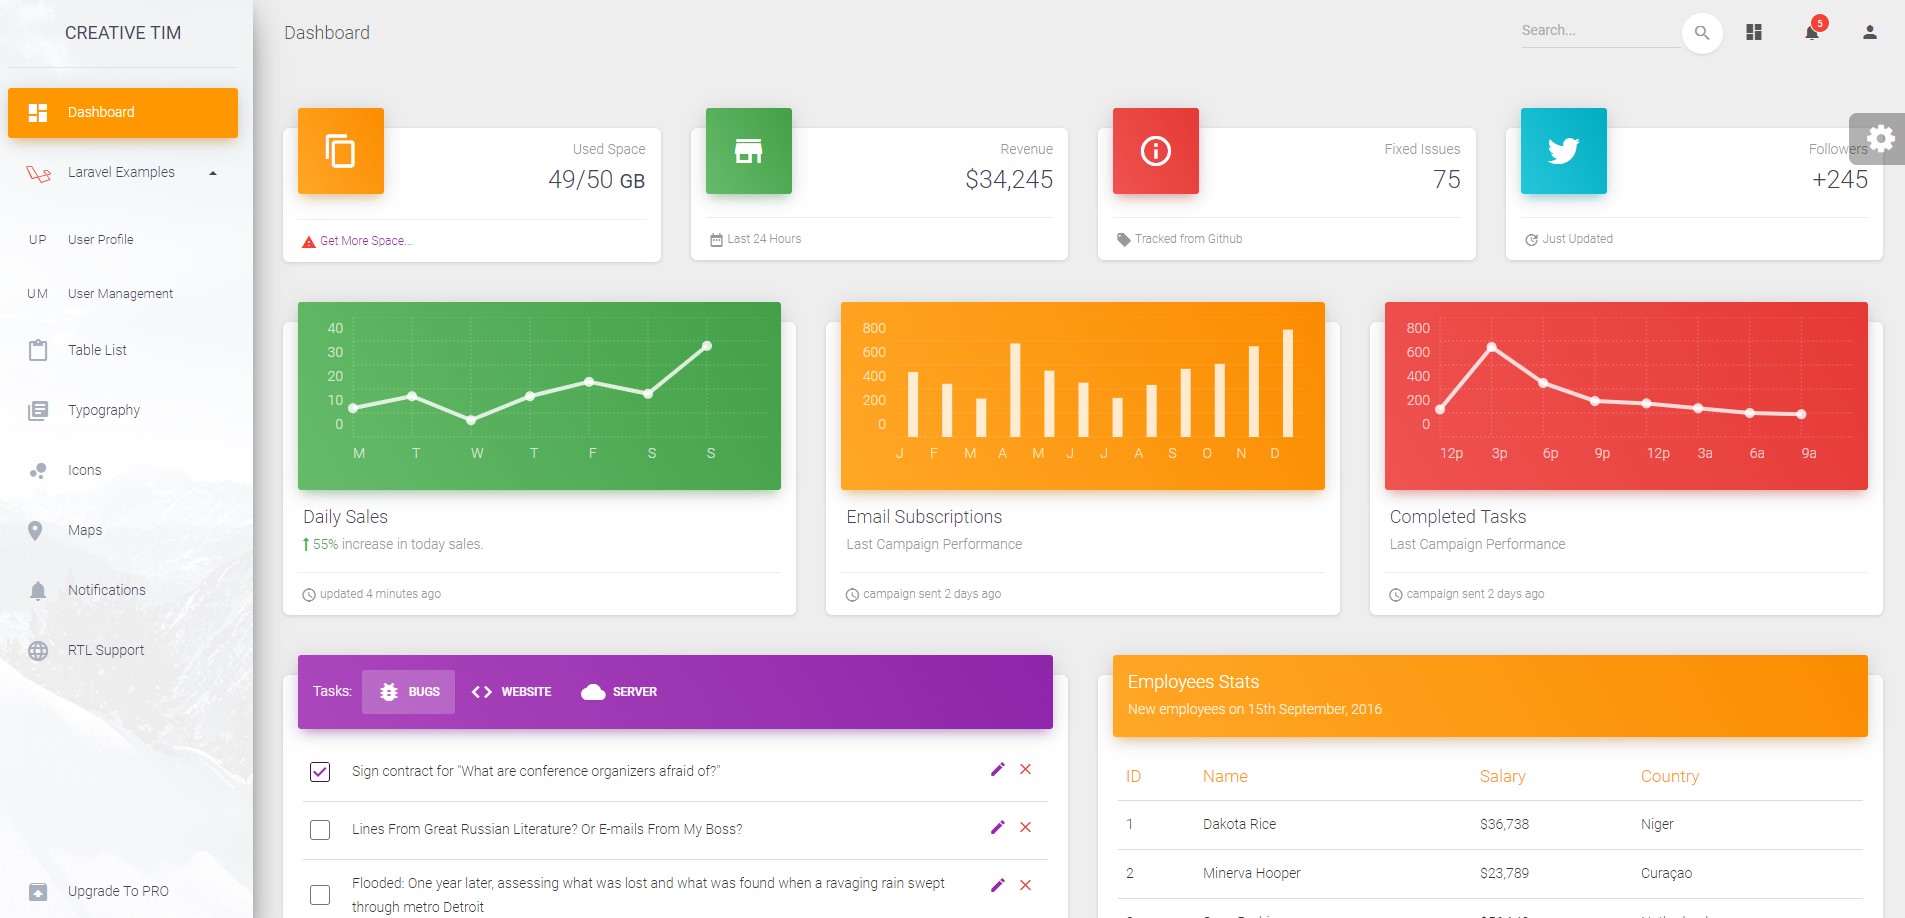
- admin dashboard
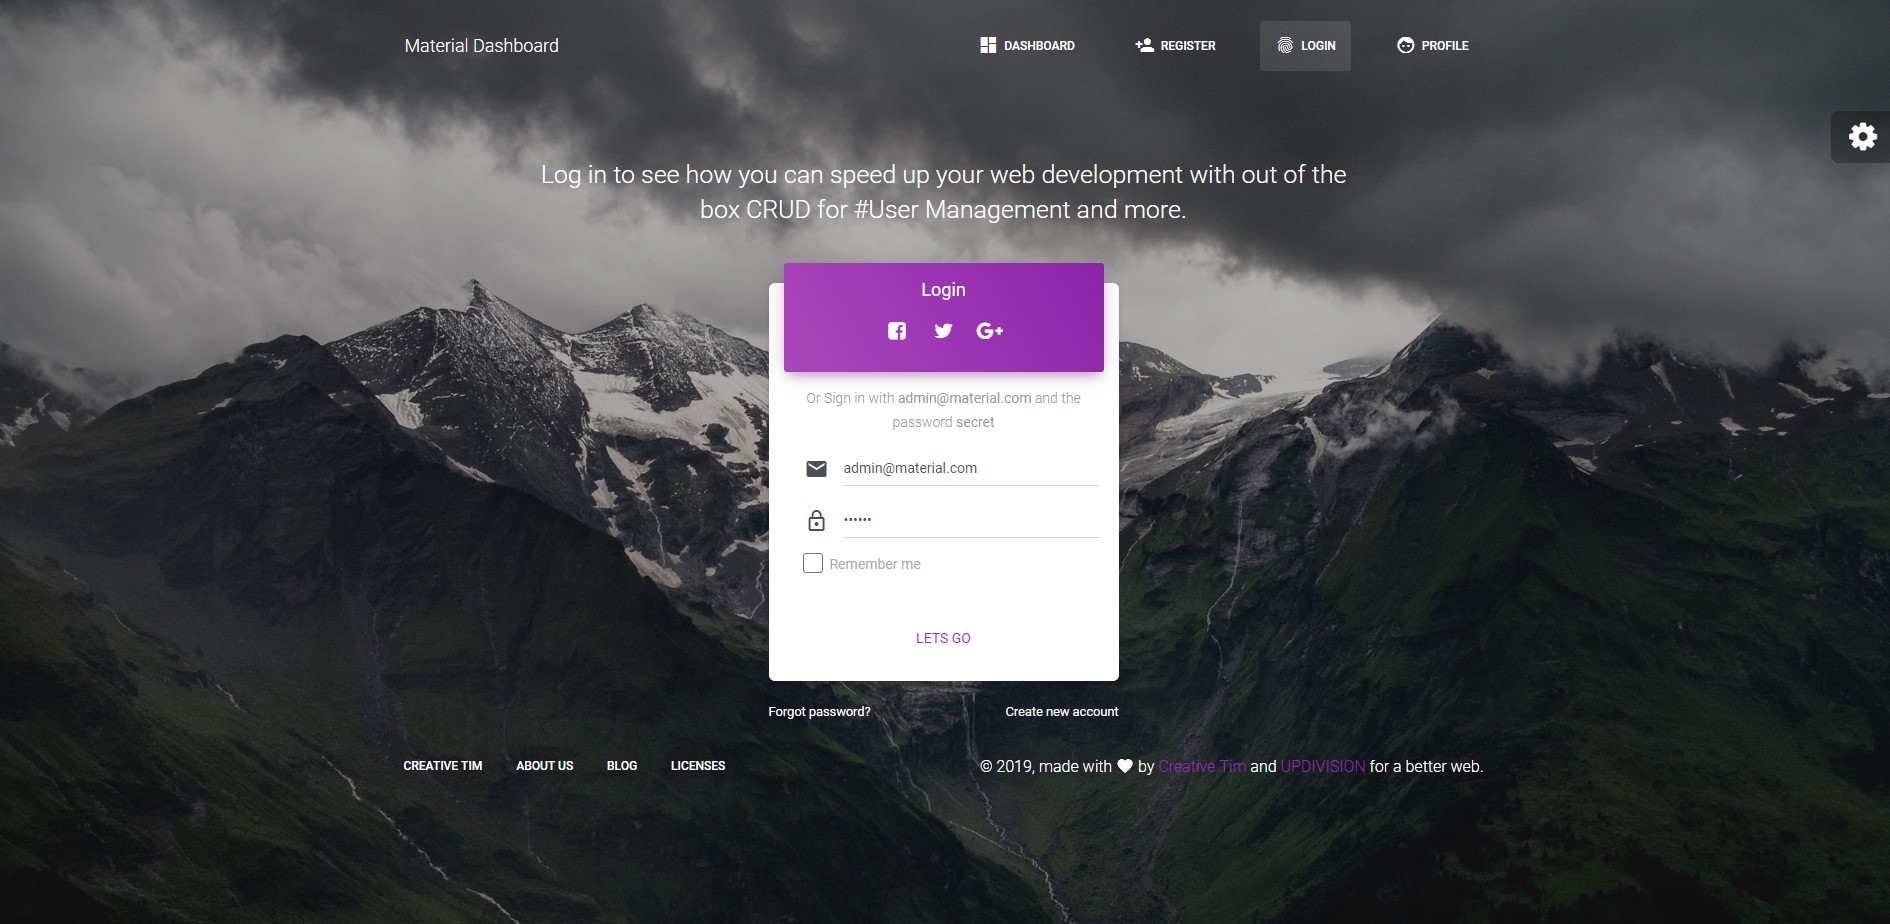
- a stylish working login and register page
- user profile editing
- fully functional user management -- Create, Read, Update, and Delete (CRUD)
Here are the steps you need to follow to install Material Dashboard Free Laravel:
Material Frontend Preset for Laravel Framework 5.5. and Up
Current version: Material Dashboard v2.1.1. See more info at: https://www.creative-tim.com/product/material-dashboard
Note: We recommend installing this preset on a project that you are starting from scratch, otherwise your project's design might break.
Installation
After initializing a fresh instance of Laravel (and making all the necessary configurations), install the preset using one of the provided methods:
Via composer
1. Cd to your Laravel app
2. Install this preset via composer require laravel-frontend-presets/material-dashboard. No need to register the service provider. Laravel 5.5 & up can auto detect the package.
3. Run php artisan preset material command to install the Material Dashboard preset. This will install all the necessary assets and also the custom auth views, it will also add the auth route in routes/web.php (NOTE: If you run this command several times, be sure to clean up the duplicate Auth entries in routes/web.php)
4. In your terminal run composer dump-autoload
5. Run php artisan migrate --seed to create basic users table
By using the archive
1. In your application's root create a presets folder
2. Download an archive of the repo and unzip it
3. Copy and paste material-dashboard-master folder in presets (created in step 2) and rename it to material
4. Open composer.json file
5. Add "LaravelFrontendPresets\\MaterialPreset\\": "presets/material/src" to autoload/psr-4 and to autoload-dev/psr-4
6. Add LaravelFrontendPresets\MaterialPreset\MaterialPresetServiceProvider::class to config/app.php file
7. In your terminal run composer dump-autoload
8. Run php artisan preset material command to install the Material preset. This will install all the necessary assets and also the custom auth views, it will also add the auth route in routes/web.php (NOTE: If you run this command several times, be sure to clean up the duplicate Auth entries in routes/web.php)
9. Run php artisan migrate --seed to create basic users table
Usage
The fastest way to get a sense of the look and feel is through the live preview.
In order to start testing the free starter kit, register as a user or log in using the username [email protected] and the password secret. Make sure to run the migrations and seeders for these credentials to be available.
Besides the dashboard and the auth pages, the preset also has a user management example and an edit profile page. All the necessary files (controllers, requests, views) are installed out of the box and all the needed routes are added to routes/web.php.
Keep in mind that all these features can be viewed once you log in using the credentials provided above or by registering your own user.
Dashboard
You can access the dashboard either by using the "Dashboard" link in the left sidebar or by adding /home in the url.
Profile Edit
The free starter kit gives you the option to edit the current logged in user's profile (change name, email and password). To access this page just click the "User profile" link in the left sidebar or add /profile in the url.
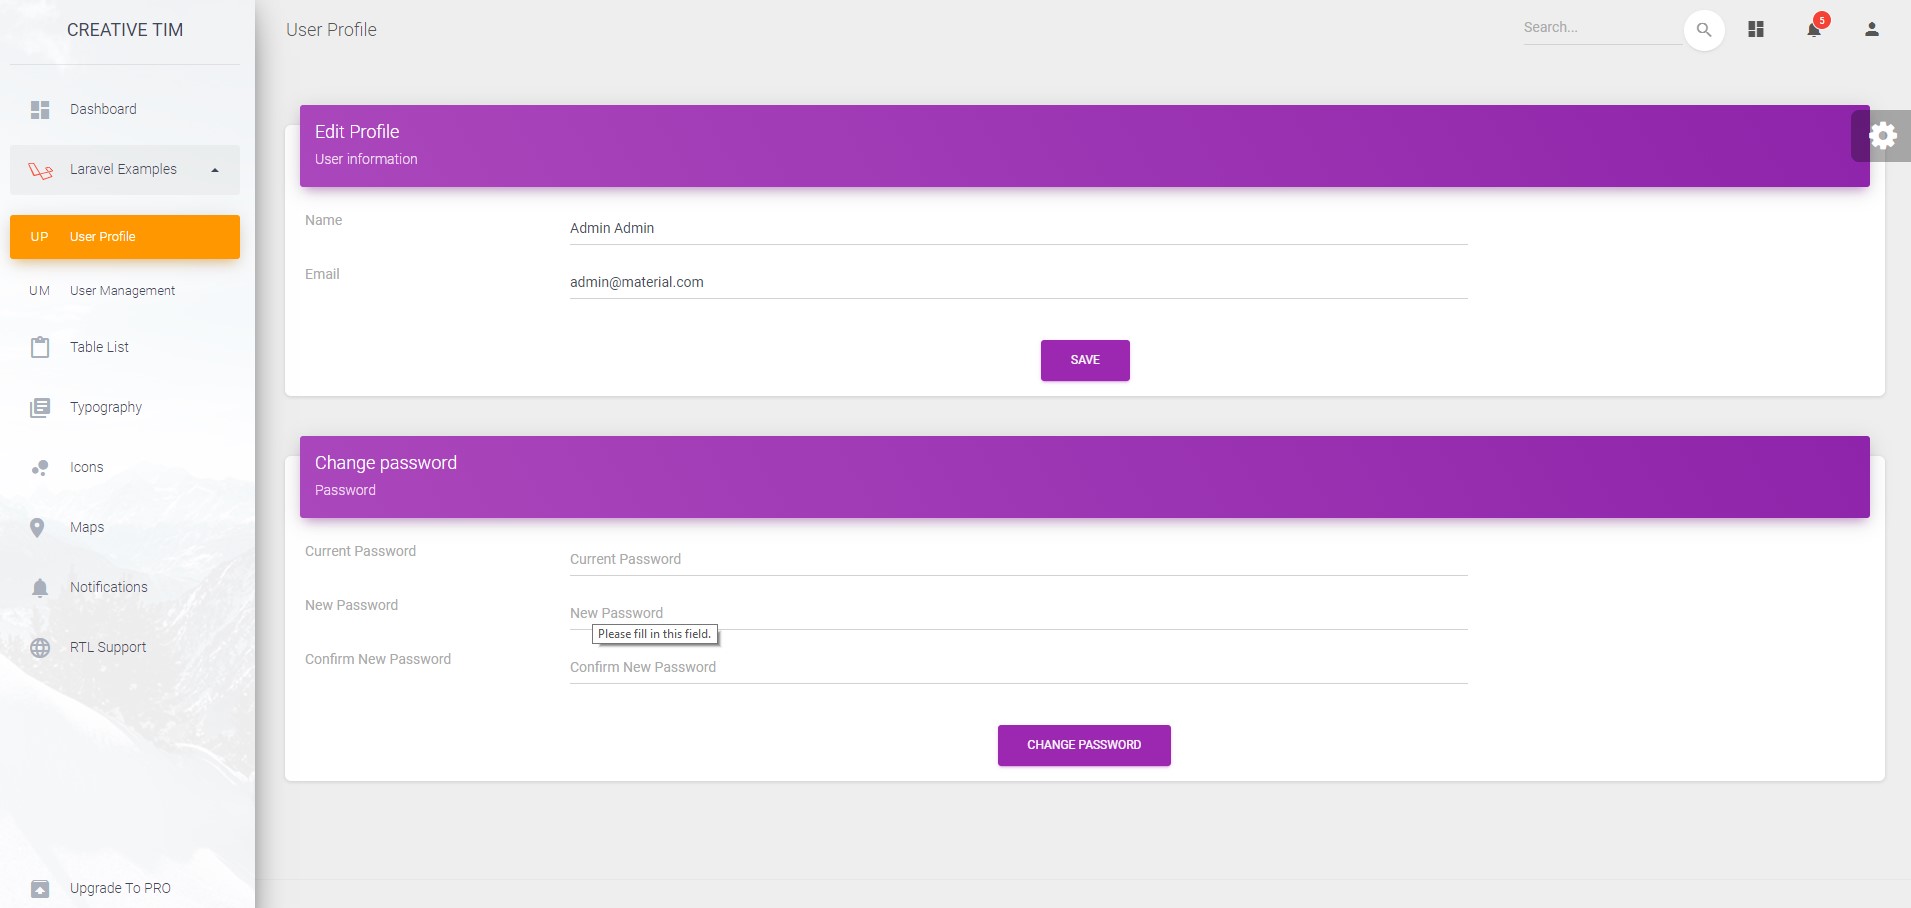
The App\Htttp\Controlers\ProfileController handles the update of the user information.
public function update(ProfileRequest $request)
        {
            auth()->user()->update($request->all());

            return back()->withStatus(__('Profile successfully updated.'));
        }
If you enter the wrong input data when editing the profile, don`t worry. Validation rules were added to prevent this (see App\Http\Requests\ProfileRequest). If you try to change the password you will see that other validation rules were added in App\Http\Requests\PasswordRequest. Notice that in this file you have a custom validation rule that can be found in App\Rules\CurrentPasswordCheckRule.
public function rules()
        {
            return [
                'old_password' => ['required', 'min:6', new CurrentPasswordCheckRule],
                'password' => ['required', 'min:6', 'confirmed', 'different:old_password'],
                'password_confirmation' => ['required', 'min:6'],
            ];
        }
User Management
The preset comes with a user management option out of the box. To access this example, click the "User Management" link in the left sidebar or add /user to the url.
The first thing you will see is a listing of existing users.
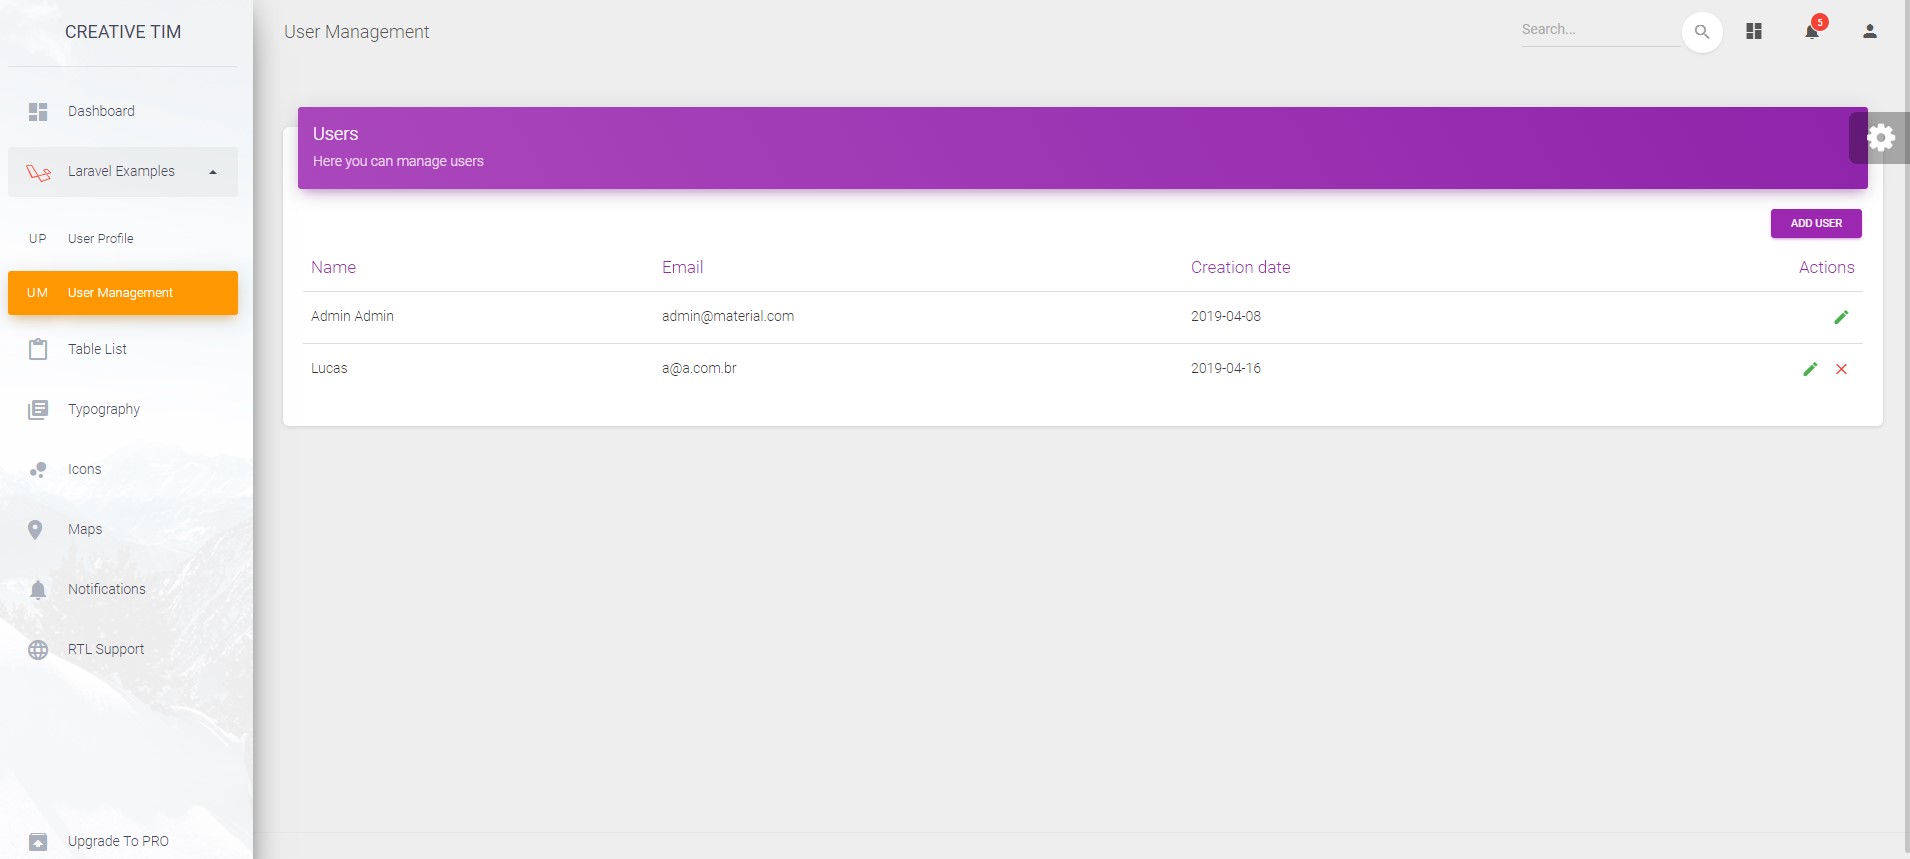
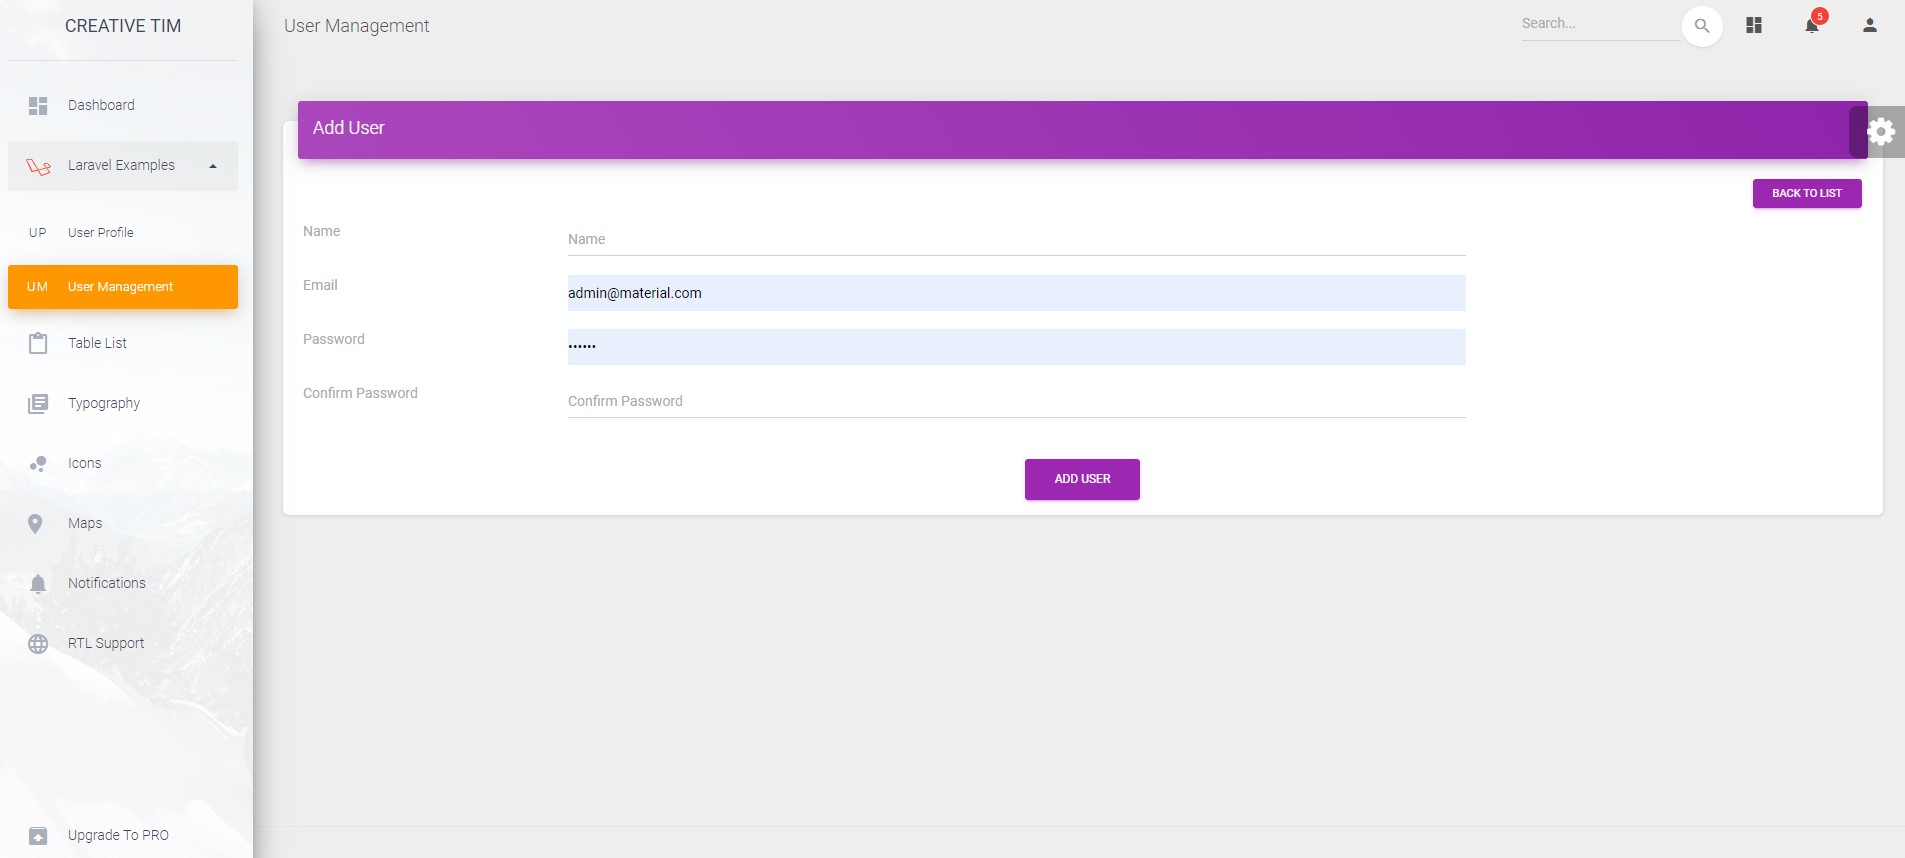
You can add new ones by clicking the "Add user" button in the upper right corner. On the Add user page, you will be presented with an input form, where you can add the user`s name, email and password.
All pages are generate using blade templates:
 <div class="row">
                <label class="col-sm-2 col-form-label">{{ __('Name') }}</label>
                <div class="col-sm-7">
                  <div class="form-group{{ $errors->has('name') ? ' has-danger' : '' }}">
                    <input class="form-control{{ $errors->has('name') ? ' is-invalid' : '' }}" name="name" id="input-name" type="text" placeholder="{{ __('Name') }}" value="{{ old('name') }}" required="true" aria-required="true"/>
                    @if ($errors->has('name'))
                      <span id="name-error" class="error text-danger" for="input-name">{{ $errors->first('name') }}</span>
                    @endif
                  </div>
                </div>
              </div>
Also, validation rules were added so you will know exactly what to enter in the form fields (see App\Http\Requests\UserRequest). Note that these validation rules also apply to the user edit option.
 public function rules()
            {
                return [
                    'name' => [
                        'required', 'min:3'
                    ],
                    'email' => [
                        'required', 'email', Rule::unique((new User)->getTable())->ignore($this->route()->user->id ?? null)
                    ],
                    'password' => [
                        $this->route()->user ? 'nullable' : 'required', 'confirmed', 'min:6'
                    ]
                ];
            }
Once you add more users, the list will get bigger and for every user you will have edit and delete options under the Actions column.
All the sample code for the user management can be found in App\Http\Controllers\UserController. See store method example bellow:
public function store(UserRequest $request, User $model)
          {
              $model->create($request->merge(['password' => bcrypt($request->get('password'))])->all());

              return redirect()->route('user.index')->withStatus(__('User successfully created.'));
          }
Let us know what you think. Your feedback is very valuable as it helps us make this product better. So, leave a comment below or help with a Star on GitHub. Stay tuned for the Pro version!